
Post a transaction
Posting turns a synced transaction into a ledger entry. It is a two-step rhythm: stage the rows you want, review them together, then post them in one action.
Posting is available in accounting entities only. See portfolio or accounting.
Start from the overview
Select Accounting in the sidebar's icon rail, then Posting → Overview. It shows pending on-chain transactions grouped by chain, so you can see where the unposted work is.
Expanding a chain breaks the count down by account, and an account down by token, with a Post button per token that opens the pending list already filtered.
The overview also shows what is blocking transactions rather than counting them: missing tokens, missing token addresses, missing token cards, and unreconciled on-chain days. Those are setup work rather than posting work, and each is resolved from that page. See the posting overview.
Find the transactions
Open Accounting → Posting → Pending. The page is titled Pending transactions. Nothing loads until you select Search; the page will not guess a selection for you. There are two ways to search:
- One account. Choose a Chain and an Account, optionally a Token Card and a Date Range too.
- A whole chain. Choose a Chain and leave Account empty. Every account on that chain is listed in one paginated table, so you can work through a chain without switching accounts. Tags narrows a whole-chain search to accounts carrying any of the account tags you pick; it is greyed out (Whole-chain search only) once an account is chosen.
The Chain list shows, beside each chain, how many transactions are waiting to be posted on it, so you can see where the work is before you pick.
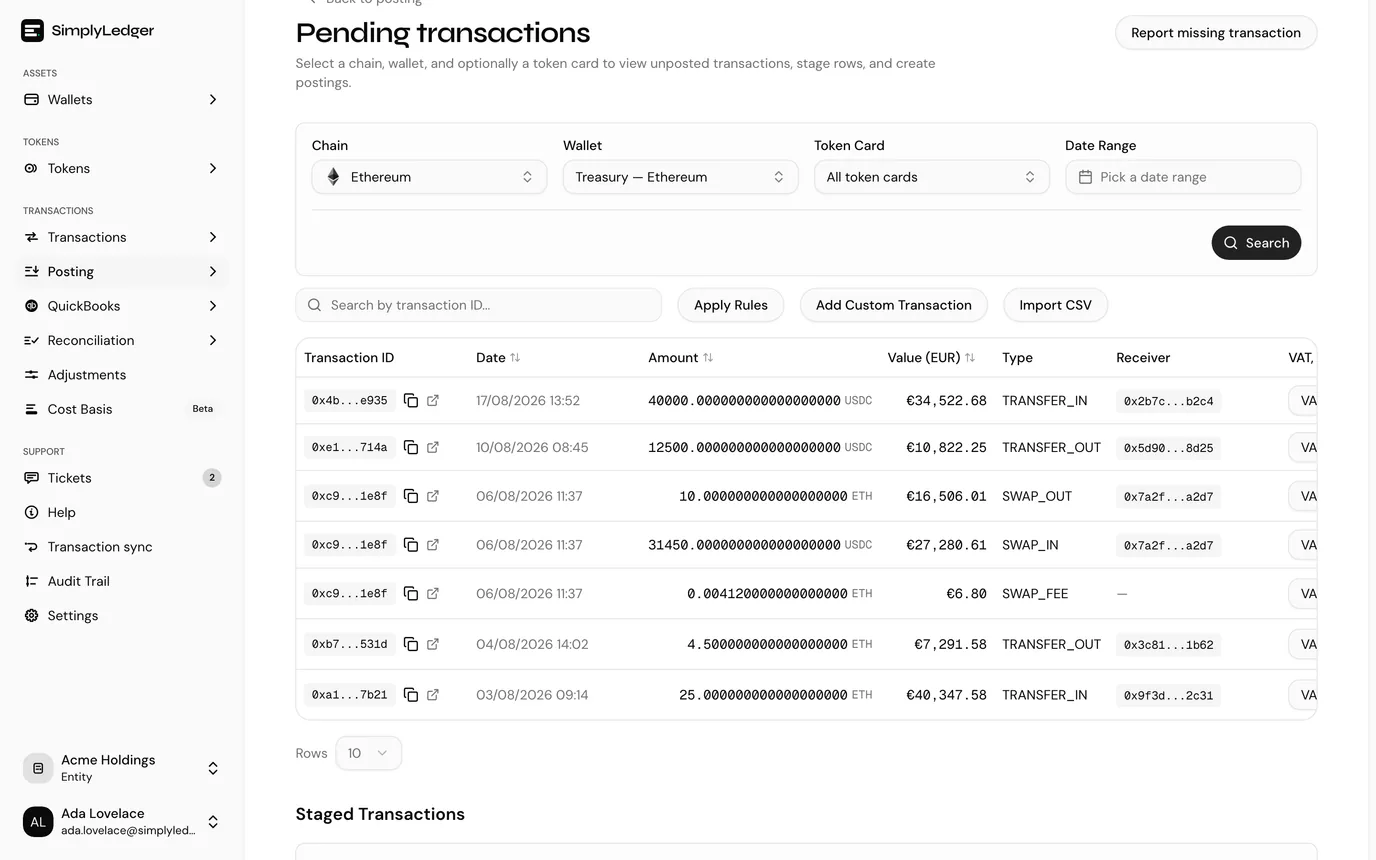
Each row reads left to right:
| Column | |
|---|---|
| Transaction | The transaction ID, with its timestamp underneath. On-chain rows link to the block explorer. |
| Account | The account the transaction belongs to. Most useful on a whole-chain search, where rows from several accounts are mixed. |
| Token Card | The token card the row posts to, with its holding type badge and reference. See choosing the token card. |
| Type | The transaction type, such as TRANSFER_IN. |
| Amount / Value | The amount with its token symbol, and underneath it the value in the entity's currency. Hover the value to see the price used. |
| Counterparty | The other address, abbreviated. Hover for the full address, or use the copy button beside it. |
| VAT, Category & Contra | What you fill in before staging. |
| Actions | The row actions described under stage the rows. |
Amounts follow the entity's Number format, so the thousands separator and decimal mark are the ones set in entity settings.
The value is converted at the transaction's own date rather than today's price. A row valued at zero usually means no token price is stored for that date.
On a fiat account, the Type column is Description / Type instead: the bank statement description, with the transaction type underneath.
Choosing the token card
An account can hold the same token under more than one card, for example an Available and a Delegated ETH card. See holding types for why. A pending row names a token, not a card, so when the row alone does not settle which card it belongs to, the Token Card column shows a Select button. Pick the card there before staging. Once picked, the column shows the card with a Change link, and staging goes straight through without asking again.
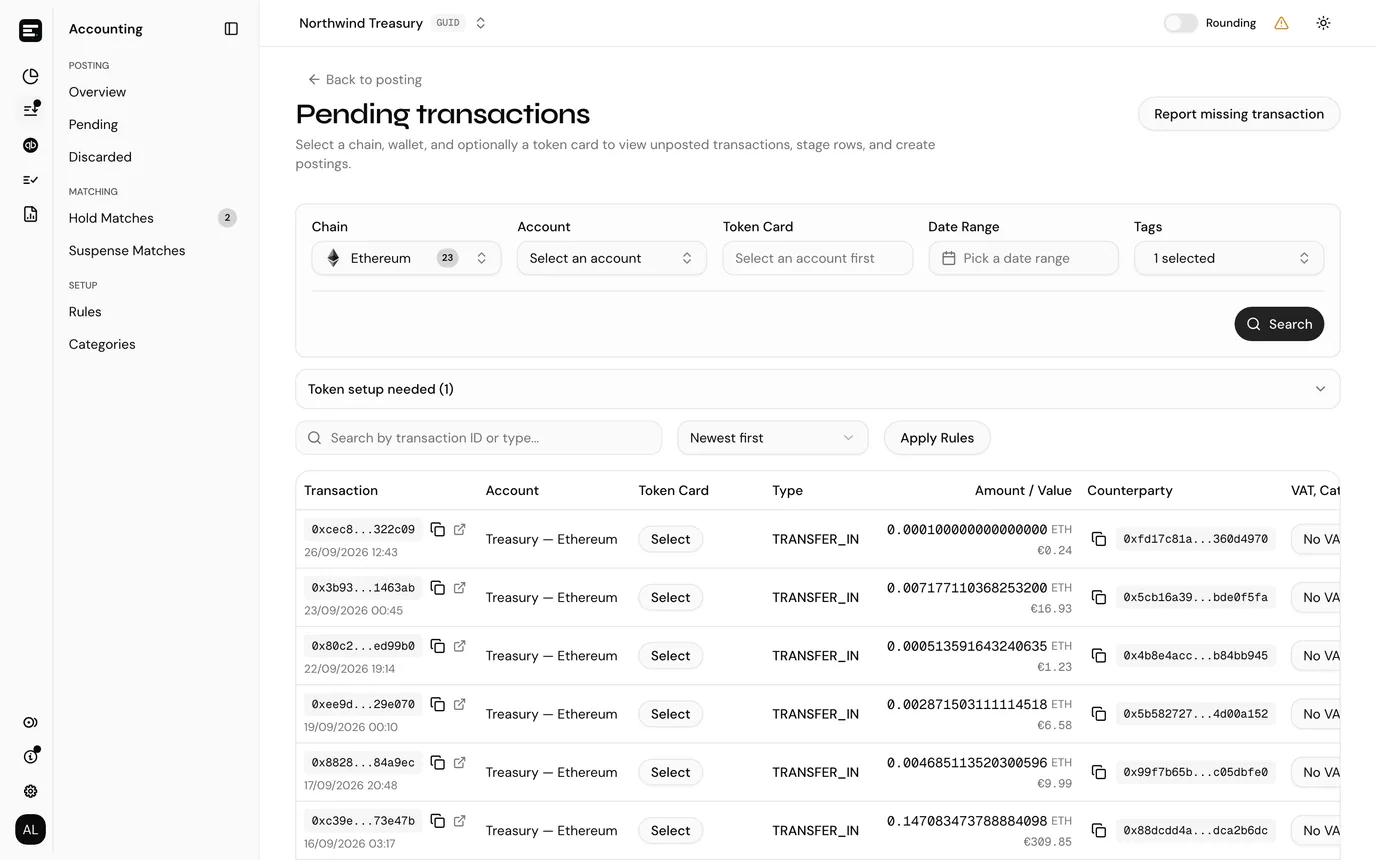
The filter panel also says Select a token card above to apply posting rules, naming the tokens concerned: ETH is held under more than one token card in this wallet. Posting rules match on holding type, so they are not applied automatically while the card is open to question. Picking a Token Card in the filters applies straight away and the rules run as normal.
Token setup
Transactions in a token that is not fully set up are left out of the table. When the account or chain you searched has any, a Token setup needed panel sits above the table with the count. Expand it to see each token missing a token, a token address on this chain or a token card, with the same actions as the posting overview. On a whole-chain search the tokens are grouped under each account's name.
Sorting and searching
The search box above the table finds a row by transaction ID. Beside it, the Sort by menu orders the list: Newest first (the default), Oldest first, by amount, by value, or by type. A fiat account can also be sorted by description.
Apply Rules sits beside the sort menu. It runs your saved posting rules over the listed transactions, categorising everything they match in one go.
Adding transactions by hand
Recording an entry that never appeared on-chain, and bringing transactions in from a CSV, both used to live on this toolbar. They have moved to the Actions menu on the account page and on Transactions, where the account they belong to is already known. See adding transactions by hand.
Rows you add there are saved to the entity's transactions and then appear in the pending table above like any other row, so you set VAT, category and contra and stage them the same way.
If something you expect is missing entirely, Report missing transaction raises a support ticket from this page, prefilled with the details support will ask for.
Stage the rows
Staging a row moves it into the Staged Transactions section below without committing anything. Think of it as a basket.
The Actions column holds up to four icons. Hover any of them for its name and what it does.
| Icon | Action | |
|---|---|---|
| + | Stage | Adds the row to Staged Transactions, ready to post. Fill in VAT, category and contra first. |
| % | Split | Splits the amount into several staged rows, each with its own category, VAT code and contra. |
| Floppy disk | Save as rule | Saves this category, VAT code and contra as a posting rule. Shown once all three are filled in. |
| Red circle with a line | Discard | Removes the row from pending without posting it. See discarded transactions. |
Three things worth knowing while staging:
- Splitting. A single on-chain transaction that belongs across more than one category can be split before posting.
- Saving a rule. If you find yourself categorising the same kind of transaction repeatedly, save it as a posting rule so it is categorised automatically next time.
- Bills and invoices. If the entity uses bills and invoices, staging a row contra'd to the suspense account opens a picker of open QuickBooks bills or invoices first, so the payment settles the right document. A document that is not in QuickBooks yet can be raised from SimplyLedger before you stage the row.
Post
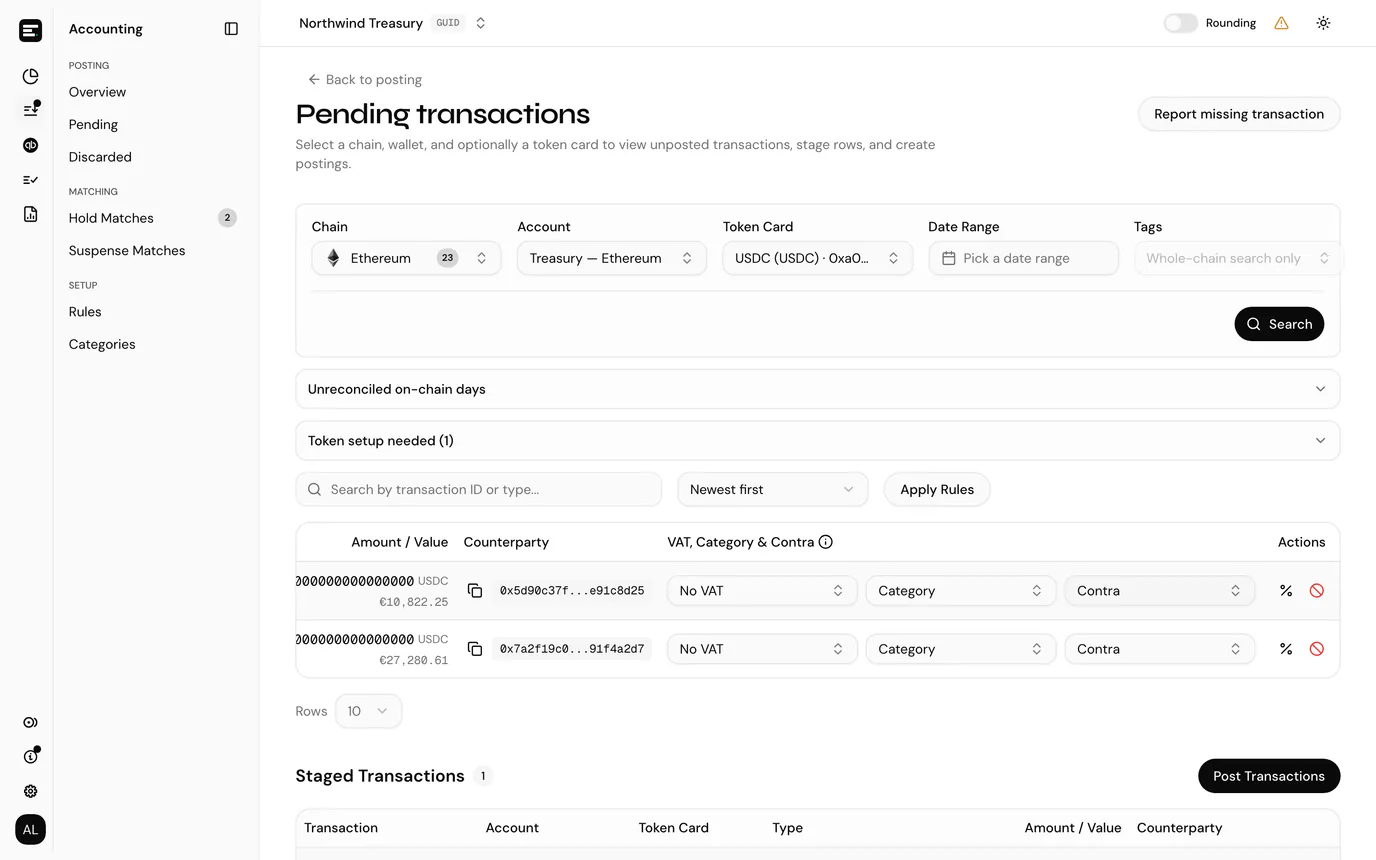
The staged section lists what you are about to commit, with the same Transaction, Account, Token Card, Type, Amount / Value and Counterparty columns as the pending table. Details shows the VAT code, category and contra you chose, greyed out, and a Description field for the entry.
Each staged row needs a description before it can be posted. A posting rule with a description template fills it in for you.
To take a row back out, use Unstage (the ✕ at the end of the row). It returns to the pending list with your VAT, category and contra choices remembered.
Select Post Transactions and confirm with Confirm Post. The rows leave the pending queue and appear under Reporting → Posted Transactions.
Rows linked to a QuickBooks bill or invoice also have their payment created in QuickBooks at this point, and a suspense match recorded against it. See bills and invoices.
Review before confirming
Check the category on every staged row. Categorisation is what determines where the entry lands in your books, and it is far easier to correct before posting than after.
Discarded transactions
Not everything should be posted: dust, spam token transfers, and internal moves you account for elsewhere. Discarding removes a transaction from the pending queue without posting it: use Discard on the row and confirm Mark as discarded.
Discarded rows are not deleted. Accounting → Posting → Discarded lists them, and you can restore any row back into the posting queue. See discarded transactions.
Posted transactions
Posted transactions (select Reporting in the sidebar's icon rail, then Posted Transactions) is the full record: every ledger posting for the entity across accounts and QuickBooks accounts, with search, filters, and pagination. This is where you go to confirm something was posted, or to find an entry you need to inspect.
Revert
Revert undoes a posting from this list: an inverted pair is written, the QuickBooks journal entry is deleted, and a finalised reconciliation containing the posting is reopened. For an ordinary row, confirming the dialog is all there is to it.
A posting that settled a QuickBooks bill or invoice has a payment in QuickBooks as well, and reverting stops to ask about it. The Linked QuickBooks settlement dialog offers Retain settlement, which reverts the posting and leaves the BillPayment or Payment in QuickBooks, and Delete settlement, which reverts the posting and deletes that payment so the document goes back to open. Either way the suspense match is removed. See reverting a linked posting.
Categories and rules
Categories defines how transactions can be classified for this entity, and controls which VAT codes each classification allows.
Posting rules automates that classification. A rule matches on transaction type and fills in the VAT code, category and contra, so recurring activity does not need categorising by hand each time. Apply Rules above the table runs them over everything listed.
Setting up rules early pays off. The alternative is categorising the same transfer shape every period.
Next
Categories and posting rules are what make the above repeatable. If your entity handles swaps or bridges, hold matches ties their two legs together after posting.